
Tuesday, April 17, 2012

Monday, April 16, 2012
Weekend Fun Times.
This weekend included:
Kitchen painting.
Shelf painting.
Hook hanging.
Baseboard replacing.
Board games and drinks with friends.
Lessons learned that tequila and I are not friends.
Sisters were here and once again no pictures taken.
Sisters were here and once again no pictures taken.
I see the light at the end of the kitchen tunnel (thank goodness) and maybe can have it all done by the end of next weekend.
 |
| Hello blue wall |
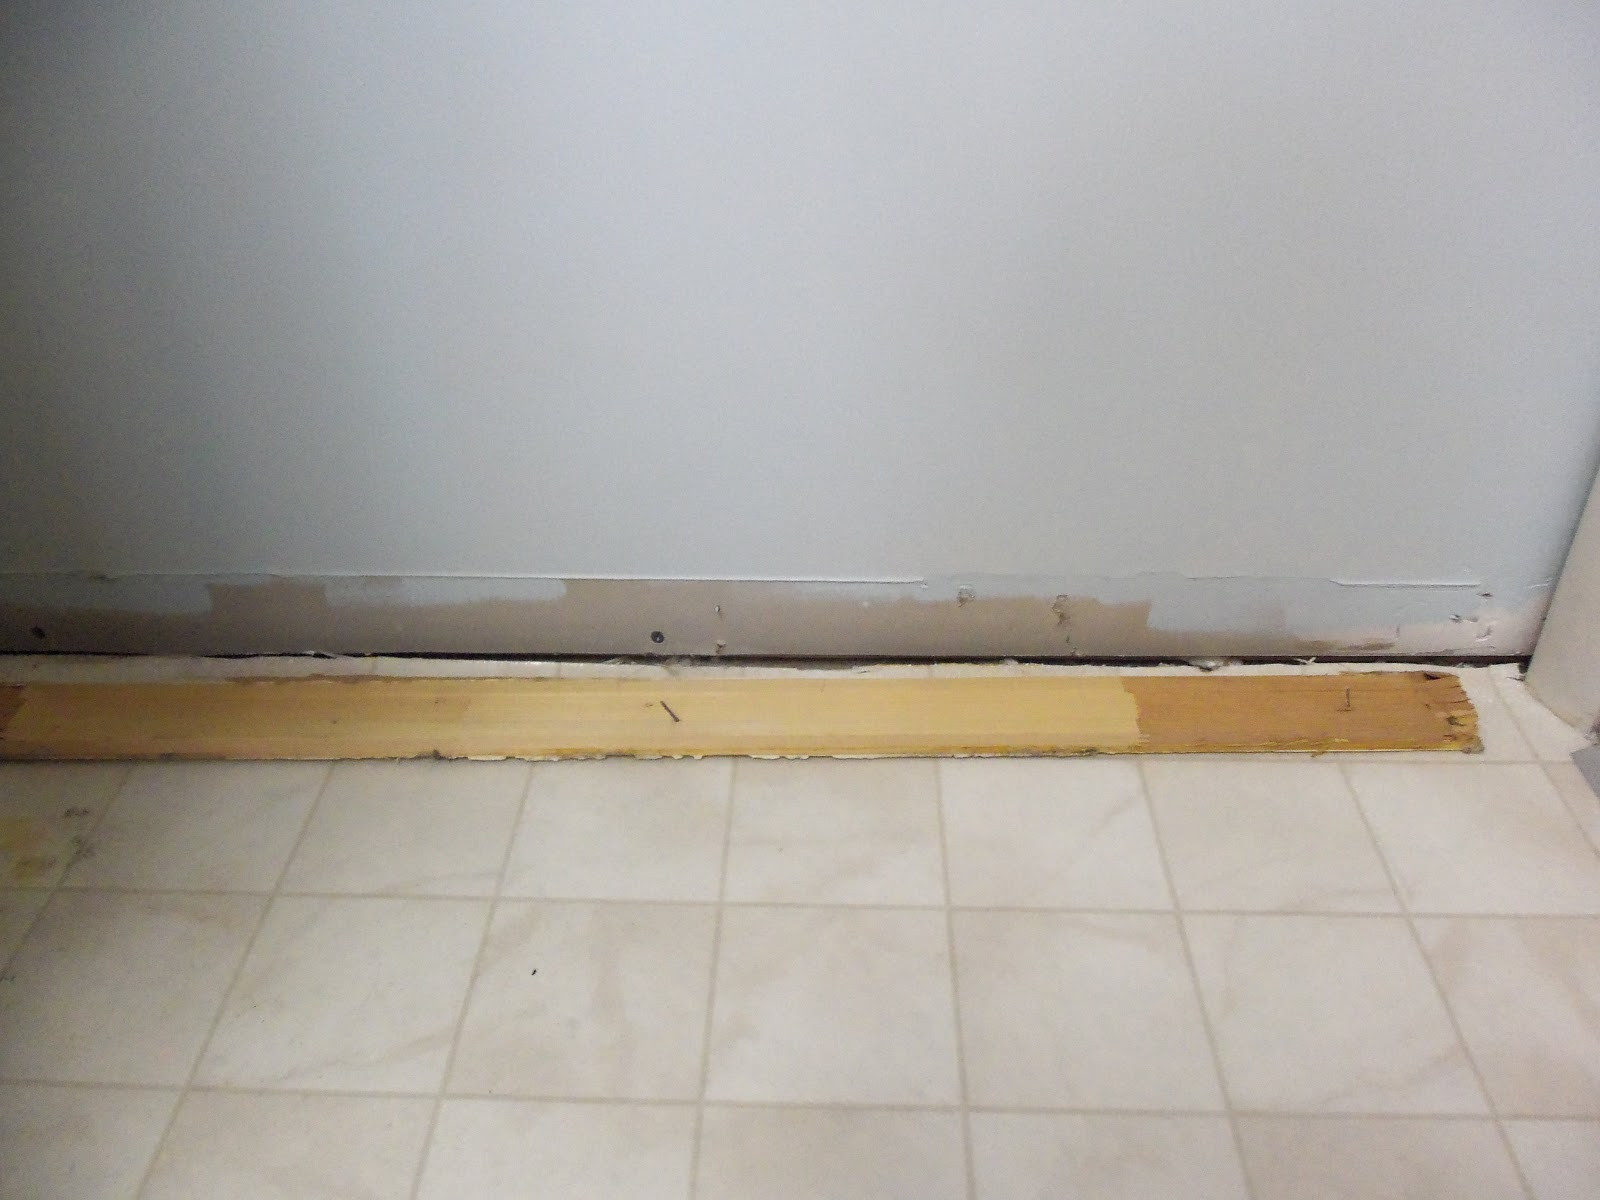 |
| What started out as cleaning the baseboard soon turned into replacing the baseboard |
 |
| I can't wait for my kitchen to be back in some kind of order |
 |
| Thumb war |
 |
| He is clearly happy about his picture being taken |
 |
| Candice in her party hat |
 |
| I drew a card and had to have the top of the game box under my shirt the ENTIRE game. So uncomfortable. |
 |
| I have no idea. |
Tuesday, April 10, 2012
Easter.
Did you have a nice Easter?
It didn't even feel like Easter to me.
Went to church in the morning, and met our new pastor and his family, still haven't made up my mind about that situation yet. Out to lunch with the usually group. Then home to work on house projects.
We didn't eat Easter dinner until about 9 that night, when Husby's parents got home. By the time we were done eating I took one look at the kitchen and decided it was time for bed.
The highlight of my day was talking to Jamie Jo and planning her arranged marriage. Yes, that's right she may be in Croatia right now but I'm lining up a husband for her when she gets back. During worship at the second service I might have been walking through the crowd with Jamie on FaceTime, trying to find get a picture of future husband. I know I'm kind of a creep.
House projects are finally getting done, almost all of my dining room furniture has it's first coat of primer and the kitchen in nearing completion. My goal is to have the inside done before the end of May. Totally doable. I've also learned that I need structure in my life, I'm much more productive when I don't have time to watch Dateline 6 hours a day. Currently planning a wedding (not mine), planning a baby girl's first birthday, working full time, keeping my shop going and getting our house done. Some people think I'm crazy but I LOVE it.

Ham : Garlic Green Beans : Cheesy Potatoes : Sugar Free Strawberry Shortcake Trifles


Right before Fuentes got in big trouble for putting his face on the table.

This is the chair project, and it's finally happening. I've only had them for a year now.
And a little side note. Apparently my cake stands were featured in the May issue of Parenting Magazine. Now to troll the grocery stores to find a copy.
Friday, March 16, 2012
Under the sink.
As I was typing the title I started singing the Little Mermaid song Under the Sea.
This was a quick little project that I did a couple weeks ago and it is FAN-TASTIC!
The total cost was about $8.00 and it took me maybe 45 minutes to finish.

Here's what you will need:
Vinyl Tiles - I got mine at Home Depot for about $1.08 each
Knife
Straight Edge
Straight Edge
Measuring Tape
Pen

1. Start with the center tile and measure where it will need to go. If you have to make a cut, like I did, measure for that and cut it.

2. Before you stick any of them down or take off the paper backing notice which way the arrows are pointing. It is important that all the tiles are installed the same way.
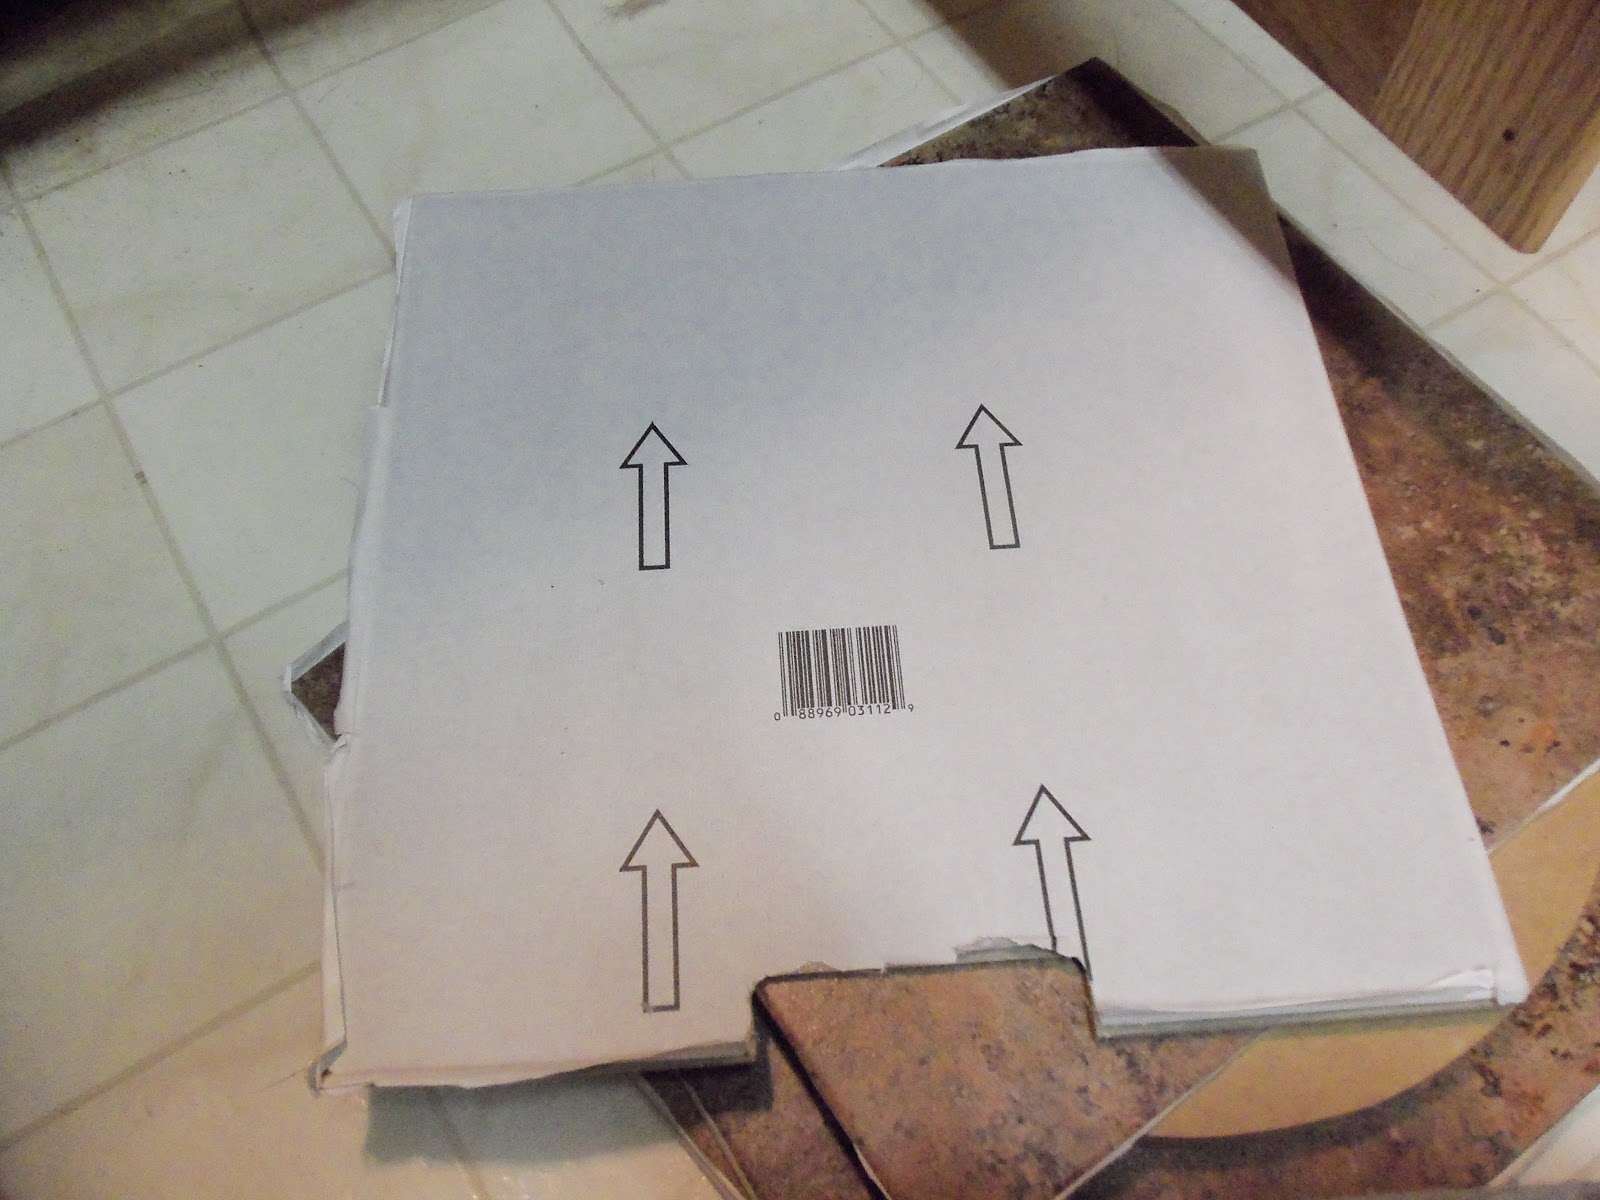
3. Take the paper backing off and stick it down.

4. Repeat for the remaining area.

BAM! You're done! How easy was that?! Now you have an easy to clean, and much nicer to look at under the sink area. Plus the edges won't peel and get all icky.
Thursday, March 15, 2012
Bee.
I have a thing for bees.
Not for realies bees, don't like those, but pretty much everything else. I mean Misso and I named our short lived craft fair the Beehive Craftival.

Misso found this gem on West Elm a couple weeks ago and about 30 seconds after she sent me the link, it was mine. It now is sitting on my counter waiting for a beehive cake.
*found here*
*found here*

Don't really care that I'm 26 I'm totally going to order this.


I already have a cookie jar that will match these!
*found here & here*

This is a custom stand that I think I'm going to start selling in my shop.
You know what isn't fun?
Eating yogurt with a fork because somehow you forgot to bring a spoon with you to work.
Tuesday, March 13, 2012
Wreath
I love wreaths!
The front of our house is pretty dull and a wreath is the perfect way to add color.
Here are a couple from Williams-Sanoma that I'm in love with, but refuse to pay $100 for.
With that being said I am determined to make my own. I think it will be easy to track down inexpensive dried greens but the roses are another story. Maybe I can find some decent looking fake ones.


Friday, March 2, 2012
Weekend Projects.
Now let me be clear when I say weekend projects I mean thinking about getting it done every weekend for 6 months projects.
I get these big ideas for projects, go out and buy everything and then move on to my next great idea. As I've mentioned before this is something that needs stop so it's time to get this done.
My goals for this weekend are 1) sand/prime dining table and chairs, 2) sand hutch and finish revamping doors and drawers.

I bought said hutch last August and it has been sitting in my basement ever since.

And here is Madam Hutch's friend Dining table. We have a breakfast bar in our kitchen so who needs table? Clearly not us.
Here was the first step in getting the hutch ready for painting. I really didn't like the current details of the doors or drawers so I decided to revamp the. Here is a quick tutorial on how I did that.

This is what they looked like before. ick.

I much as I love this 1960's -ish flower, it had to go

1. Measure the space you want to cover and cut out those pieces. I used a table saw but a handsaw of some kind with a straight edge will do just fine too.

2. Before you glue them in place make sure that they fit how you want.

3. Glue them done and nail them into place. I used my brad nailer for this but a hammer and nail will work just as well.

4. If you are doing the drawers repeat the same steps. To get the shapes for this section I used the table saw to get the basic rectangle and then used my jigsaw to make the slight curves on the end. To be honest I was really intimidated by this part because I thought it was going to be rather hard to match up the shape, but guess what?! It was so easy! All I did was take a piece of paper, lay it over the top and then use pencil to make the outline. Once you have the outline trace it on the pieces of wood that you have already cut and BAM you have your shape.

5. Next step is to caulk around the edges of the new pieces to give it that seamless look. Once you are done place them somewhere warm to dry because if it's too cold the caulking will crack as it dries. I learned this the hard way and had to redo them all.
Once that is all done you can attach new appliques, stencil it or pretty much do whatever. Total this project took me about an hour to do 2 doors and 3 drawers. Later I will post pictures of what the doors and drawers look like with their new appliques and maybe next week I will have pictures of it all primed and ready to go! A girl can dream.
Subscribe to:
Posts (Atom)