Showing posts with label crafty. Show all posts

Friday, September 13, 2013

Spiders Everywhere.

I don't know about you, but when I come up with a theme I like, I run with. Till it's dead. Everything has to match or coordinate in a certain way. My mother thinks I'm crazy, but I have been this way as long as I can remember. 

Anyway I'm getting off track.

This year I FINALLY made Halloween stands for my shop, and even branched out from cake stands into other housewares. The theme was spiders and their webs. I really loved how everything turned out and right now I'm in the process of getting everything up in my shop. 

Here are a few sneak peaks at what will be making an appearance over the next couple days. 


Halloween needs to get here now!

Tuesday, December 4, 2012

Fortress of Darkness, Man Cave, Whatev.

When looking for our home Husband had basically one requirement, there had to be a large basement that he could turn into the Man Cave. Oh and he gets to paint the walls black so that he can basically live in a cave. His window covering idea? Duct taping cardboard over all of the windows, because that's classy. I was able to convince him we can get blackout curtains so that he can go about his vampire ways. 

Over the past couple weeks I have been working on his tv stand. When we moved a friend of my MIL gave us an old dresser, Husband hated it and stomped his feet the whole way to get it, but I loved it. Here is the before and after and I am so happy with how it turned out.


Yup, phone pictures because I was too lazy to go upstairs and get the camera. Once the basement is done I'm going to take nice pictures..maybe. 

Friday, March 16, 2012

Under the sink.

As I was typing the title I started singing the Little Mermaid song Under the Sea. 

This was a quick little project that I did a couple weeks ago and it is FAN-TASTIC!

The total cost was about $8.00 and it took me maybe 45 minutes to finish.


Here's what you will need:

Vinyl Tiles - I got mine at Home Depot for about $1.08 each
Knife
Straight Edge
Measuring Tape
Pen


1. Start with the center tile and measure where it will need to go. If you have to make a cut, like I did, measure for that and cut it. 


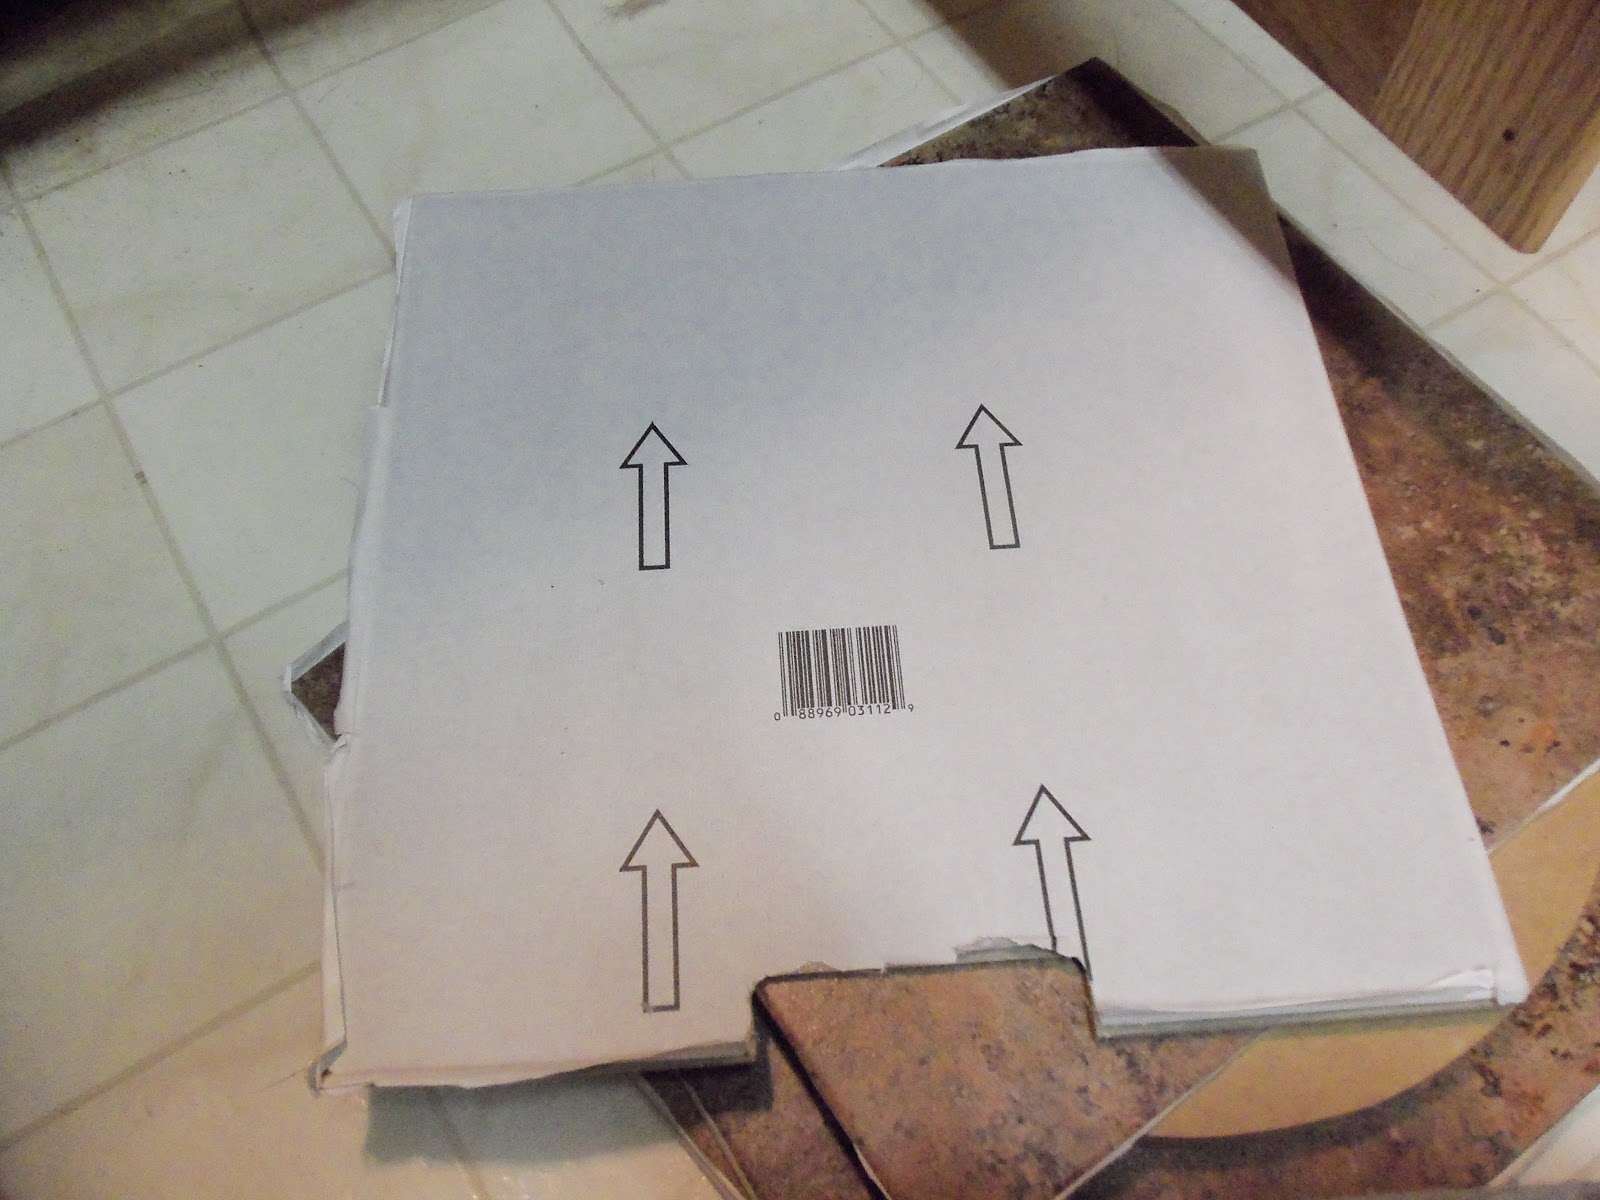
2. Before you stick any of them down or take off the paper backing notice which way the arrows are pointing. It is important that all the tiles are installed the same way.


3. Take the paper backing off and stick it down.


4. Repeat for the remaining area.


BAM! You're done! How easy was that?! Now you have an easy to clean, and much nicer to look at under the sink area. Plus the edges won't peel and get all icky. 

Thursday, March 15, 2012

Bee.

I have a thing for bees. 
 Not for realies bees, don't like those, but pretty much everything else. I mean Misso and I named our short lived craft fair the Beehive Craftival. 


Misso found this gem on West Elm a couple weeks ago and about 30 seconds after she sent me the link, it was mine. It now is sitting on my counter waiting for a beehive cake. 
*found here*

Don't really care that I'm 26 I'm totally going to order this. 

I already have a cookie jar that will match these!


This is a custom stand that I think I'm going to start selling in my shop. 


You know what isn't fun? 
Eating yogurt with a fork because somehow you forgot to bring a spoon with you to work. 

Tuesday, March 13, 2012

Wreath

I love wreaths!

The front of our house is pretty dull and a wreath is the perfect way to add color.

Here are a couple from Williams-Sanoma that I'm in love with, but refuse to pay $100 for. 

With that being said I am determined to make my own. I think it will be easy to track down inexpensive dried greens but the roses are another story. Maybe I can find some decent looking fake ones. 


Friday, March 2, 2012

Weekend Projects.

Now let me be clear when I say weekend projects I mean thinking about getting it done every weekend for 6 months projects. 

 I get these big ideas for projects, go out and buy everything and then move on to my next great idea. As I've mentioned before this is something that needs stop so it's time to get this done.

My goals for this weekend are 1) sand/prime dining table and chairs, 2) sand hutch and finish revamping doors and drawers.


 I bought said hutch last August and it has been sitting in my basement ever since.


And here is Madam Hutch's friend Dining table. We have a breakfast bar in our kitchen so who needs table? Clearly not us.

Here was the first step in getting the hutch ready for painting. I really didn't like the current details of the doors or drawers so I decided to revamp the. Here is a quick tutorial on how I did that.


This is what they looked like before. ick.


I much as I love this 1960's -ish flower, it had to go


1. Measure the space you want to cover and cut out those pieces. I used a table saw but a handsaw of some kind with a straight edge will do just fine too.


2. Before you glue them in place make sure that they fit how you want.


3. Glue them done and nail them into place. I used my brad nailer for this but a hammer and nail will work just as well.


4. If you are doing the drawers repeat the same steps. To get the shapes for this section I used the table saw to get the basic rectangle and then  used my jigsaw to make the slight curves on the end. To be honest I was really intimidated by this part because I thought it was going to be rather hard to match up the shape, but guess what?! It was so easy! All I did was take a piece of paper, lay it over the top and then use pencil to make the outline. Once you have the outline trace it on the pieces of  wood that you have already cut and BAM you have your shape.


5. Next step is to caulk around the edges of the new pieces to give it that seamless look. Once you are done place them somewhere warm to dry because if it's too cold the caulking will crack as it dries. I learned this the hard way and had to redo them all.

Once that is all done you can attach new appliques, stencil it or pretty much do whatever. Total this project took me about an hour to do 2 doors and 3 drawers. Later I will post pictures of what the doors and drawers look like with their new appliques and maybe next week I will have pictures of it all primed and ready to go! A girl can dream. 

Wednesday, February 29, 2012

New View.

This is my new view. 

Monday through Friday 9:30-5:30. 

It's been 3 weeks, and so far I really do like my new job. But there are still days I just don't want to get out of bed and I just have to remind myself that job means house then babies.

I also cut 9-ish inches off my hair last week. Still adjusting to that. One perk is not spending 20 blow drying my hair, which in my book is FANTASTIC.


1. Super awesome notebook from Michael's (I bought like 10)
2. New backyard plan
3. Robot cupcake tree for littlest Nephew's birthday next week.

Yup, that's work. 

Friday, February 10, 2012

New Designs.

Here is a glimpse of some new stands that will be popping up in my shop over the next few weeks.

Now to get oldest younger twin brother to write my descriptions.


Wednesday, February 8, 2012

Pretty Towels.

Flour sack towels are my favorite towel to have around the kitchen. They absorb so much moisture, plus I can tie them around my waist. 

I haven't ever been able to find pretty towels that I am willing to pay for so I decided to make my own. This project was super easy and fairly cheap. 

Supplies:

plain flour sack towels (Walmart has them for 5/$5)
acrylic paint
sponge
stencil


1. Lay out your towel. I bought a tri-fold and then used thumbtacks to secure the towel so it didn't move around while stenciling. 


2. Stencil


3. Let it dry for a few days and then wash. I had to wash mine a couple times with fabric softener because I put quite a bit of paint on.  


Yay for pretty new towels! It was so easy and quick that I'm going to make more once I get a chance. 

Monday, February 6, 2012

Stepford.

Is it strange that I kind of want to live in Stepford, minus the whole creepy robot thing. To say that I love that movie would be an understatement, it's my most favorite of all time. The colors, the dresses, the houses, the tea parties, oh and the 4th of July festival. That movie just makes my heart smile and for some reason makes me all kinds of motivated to get my house in order and crafty projects done. 


On our long drive home from Washington I told Husby that if I had lots of money I would have my own town, and it would be like Stepford. That's about the time he told me that I couldn't pay him to live there. He doesn't even know what he'd be missing, because it would be amazing! 

When I have waaaay to much time on my hands these are the kinds of things I think about. 

Friday, January 27, 2012

Project Queen.

At any given time I have more half-way done projects than I care to admit. One of my 157894 new goals for myself is to finish a project before I start another. Since we came home from my parents I have successfully been able to check off 3 things!!! That deserves 3 !!! because that is a big deal in my world. Over the next couple weeks I will share the tutorials on how I made each super easy and inexpensive project. 

Also I'm thinking about cutting my hair off. I've been going back and forth for a while now and can't seem to commit either way. 


Thursday, December 15, 2011

Snow and curtains.

First a note to Mother Nature.

Mother Nature: It is a week before Christmas and there is still no snow. Hurry it up because my outside decor will look much better covered in a white blanket of cold glittery goodness. 


Next subject: curtains. 

I really really wanted yellow chevron striped curtains for my living room windows. Well I did until I saw the price tag for the fabric of $9 a yard and I need 20 yards, so that wasn't going to happen. I have since decided to make my own. They won't have chevron stripes because that's too much work, but they will have really wide horizontal stripes. I'm hoping to start working on them today, and once they're done and hopefully a success I will share how I did it. Total this whole project should cost around $30 which makes this girl extra happy.   

Friday, December 9, 2011

Details.

Hello lovelies!

My shop is being featured over on Hannah's cute blog today. You can check it out here.